How to use Build a Bio
Five minutes from "what is this" to a published page. Every screen, every setting, and the two things people ask about most: editing without a password, and putting the page on your own blog.
Five minutes from "what is this" to a published page. Every screen, every setting, and the two things people ask about most: editing without a password, and putting the page on your own blog.
Build a Bio makes the one page that holds every link you want people to find. You build it once, with a live preview beside you. You save it with your email and it publishes instantly at its own address. You put that address in your social bios, or embed the whole page on your own blog so your clicks land on your site. When something changes, you edit it and the live page updates the moment you save.
That's the loop: build, publish, share, edit. Everything below is detail.
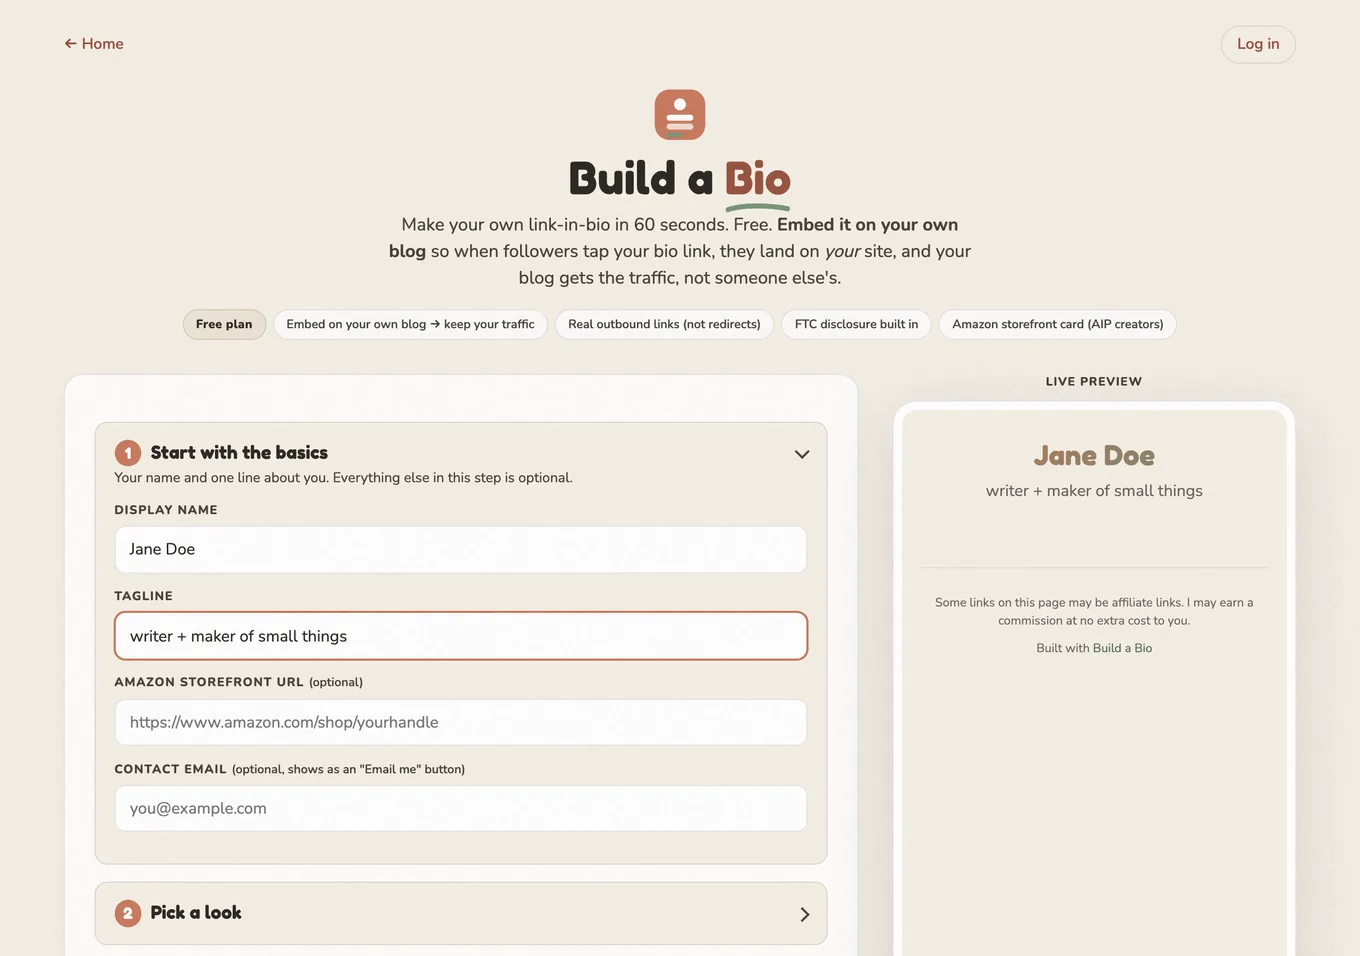
Your email is the account. There's no password, on purpose: nothing to forget, nothing to reuse, nothing to leak.
The link works once and expires after 15 minutes, and that's fine. Whenever you need another one, ask for another one. If you don't see the email, check spam, and give it a minute: there's a limit of about three emails an hour per address.
Links live in sections, and sections are the trick to a page that works. Group them by audience: a "For sponsors" section and a "For readers" section does more than one long list, because each visitor finds their row without scrolling past everything else.
Each link takes a label, a URL, and an optional one-line subtitle. There's also a sponsored toggle: turn it on for sponsored and affiliate links and it adds the "sponsored" tag Google asks for on paid links, without changing how the link looks to a visitor. Links on a bio carry the standard nofollow tag search engines use for pages people build themselves, so they don't count toward search rankings.
If you're an Amazon creator, paste your storefront URL in the basics step and your page gets a storefront card with the Associates disclosure line already on it. You choose where the card sits.
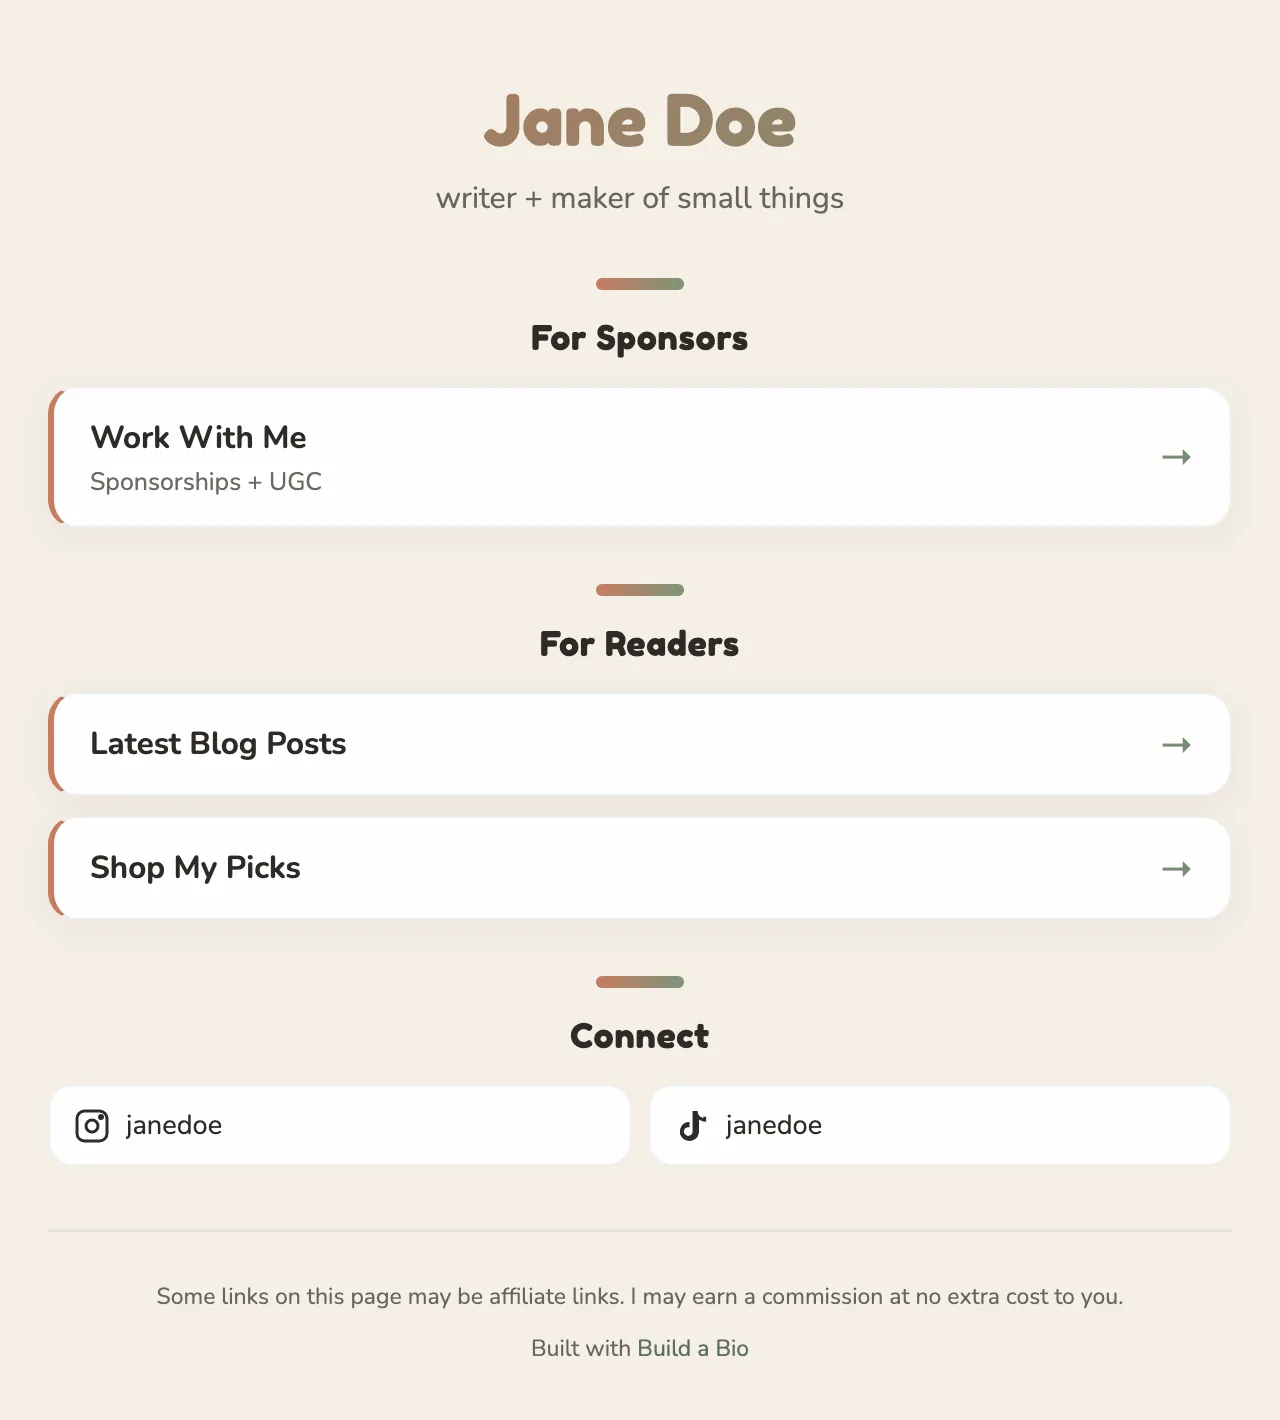
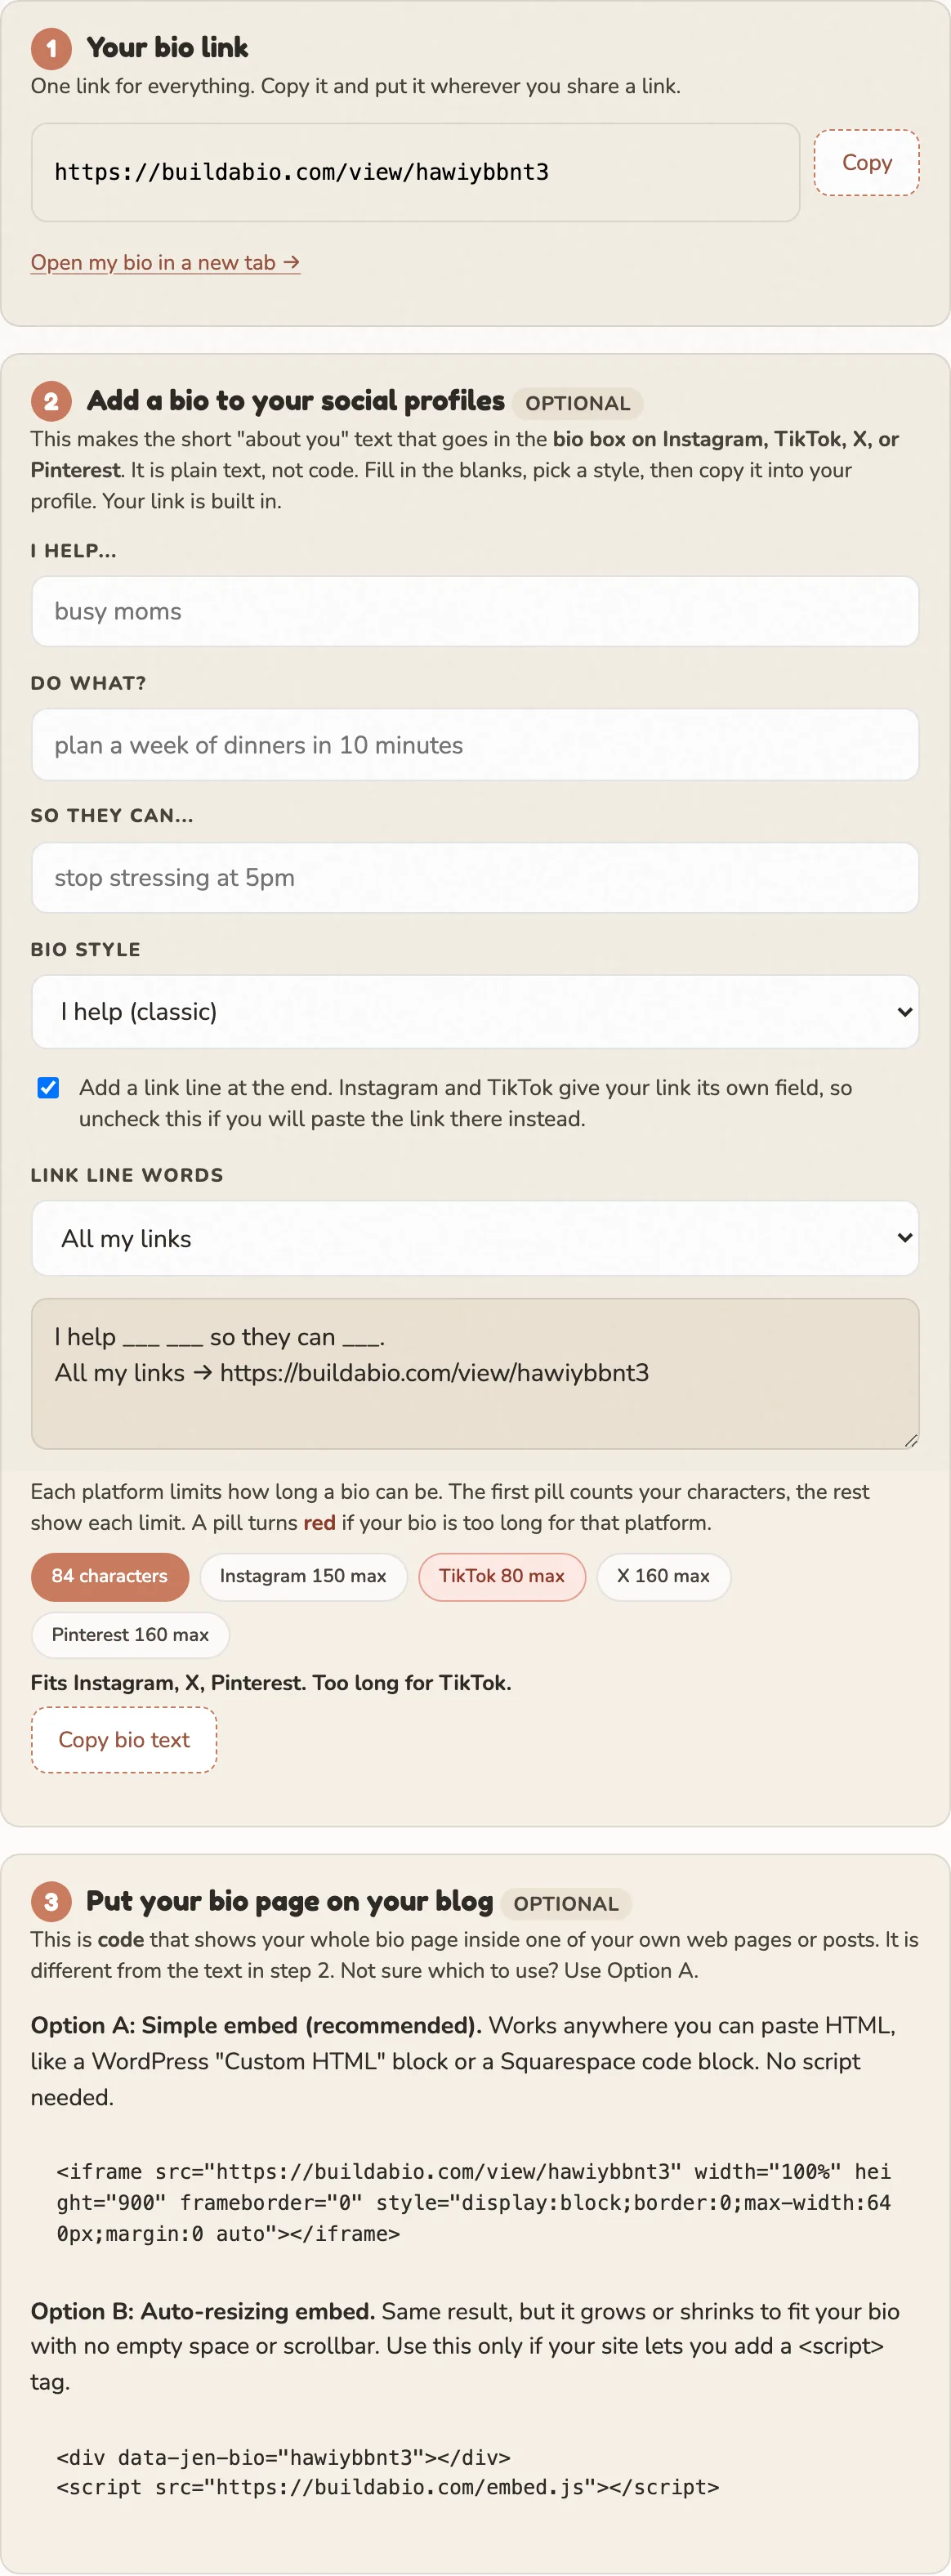
This is the feature the whole product is named for. A hosted link works fine, but embedding means your bio traffic lands on your site.
Edits you make later show up in the embedded copy automatically. There's nothing to re-paste.
Free publishes a complete bio: 4 sections, 8 links per section, 4 socials, themes and accent colors, the Amazon storefront card, embedding, and a share picture made from your name and colors. One bio per email.
Pro is $9/mo or $69/yr and adds room and polish: 50 links, 12 sections, 12 socials, up to 10 bios on one email, a featured card at the top, eight font pairings, full colors and custom CSS, click analytics, your own buildabio.com/b/your-name link, your logo on the page and the share picture, and the option to remove the "Built with Build a Bio" badge. It renews automatically until you cancel, and cancel lives under Manage billing on My bios.
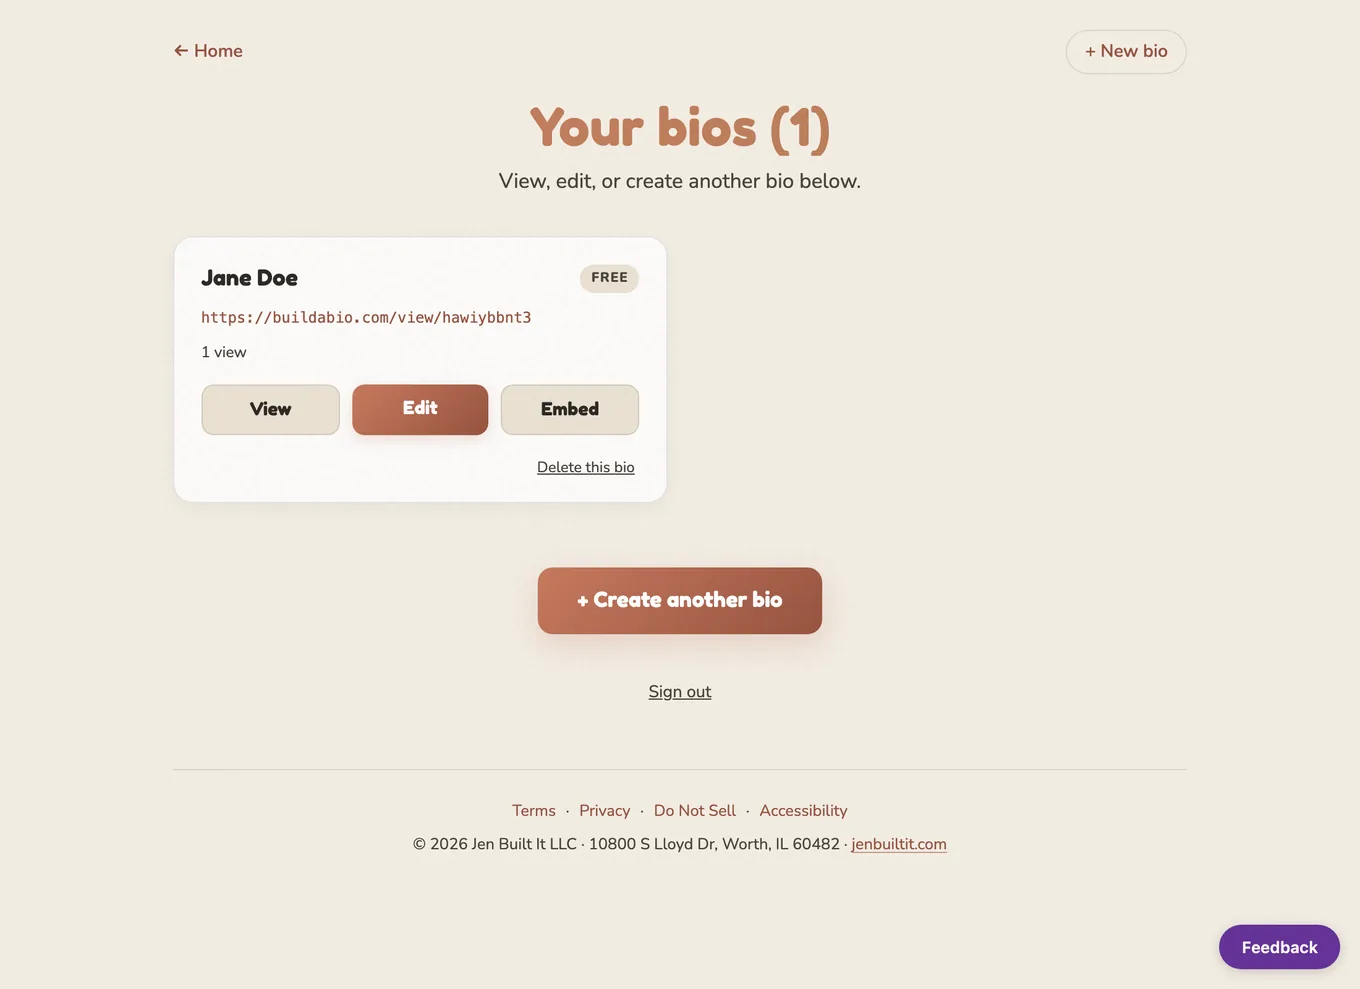
A bio page earns its keep when it follows your work. Shipped something new? Open My bios, hit Edit, add the link at the top of the right section, save. The live page and any embedded copy update instantly. That's the whole maintenance routine, and it takes about a minute.
The builder also saves a draft on your device as you type, so a closed tab mid-build loses nothing. And deleting a bio always asks first.
Free, no password, live in a few minutes.